How to Use a Chassis Spreader: Easy Tricks for Stubborn Motors
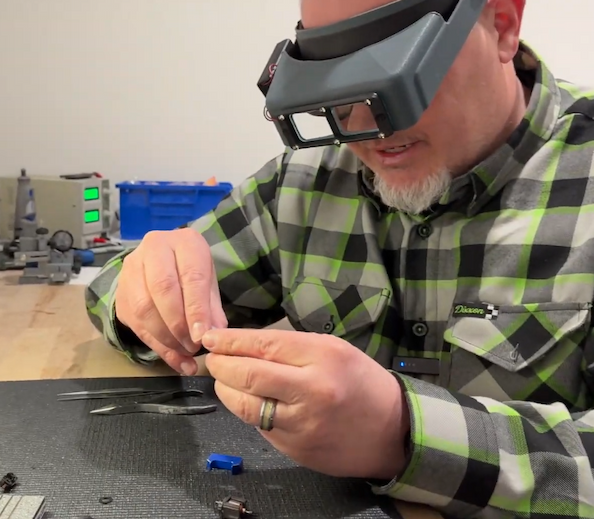
In this post, we’re walking through how to use the Viper Scale Racing chassis spreader. The technique works the same no matter which brand of spreader you have, because they all do the same basic job
Why a chassis spreader helps
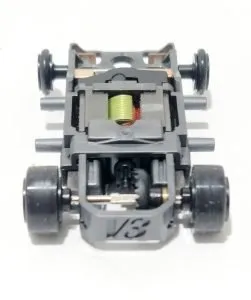
For this demo, we used the Viper V1 from our 7- vs. 8-tooth pinion comparison video. For some reason, that car was built on a stiff chassis. That makes it a perfect candidate for a spreader, because stiff chassis parts are tight, and getting the motor and other pieces out by hand is a real fight.
How to remove the motor
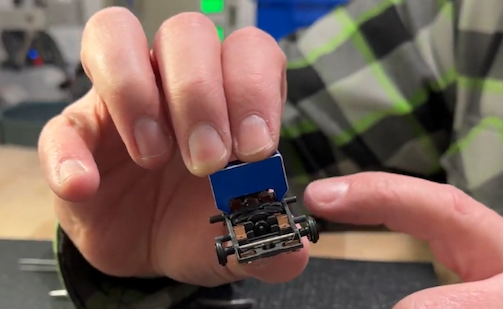
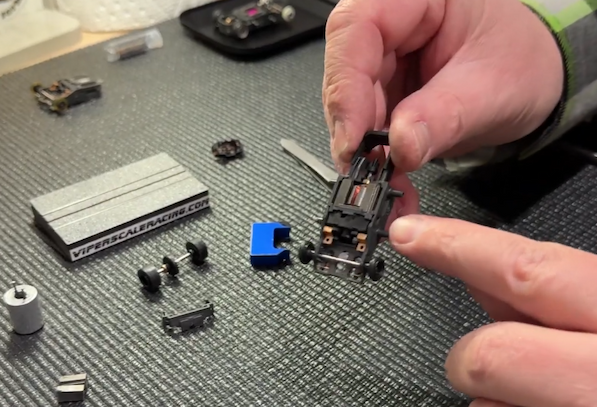
Position the spreader. Set it over the top of the motor so the fins on each side slide down between the chassis and the magnets.
Push down. As you press down, the ramps on the sides of the spreader push the chassis open.
Pop the motor out. At the same time, push up on the motor assembly from underneath. Using both index fingers works well. The whole motor assembly pops up into the spreader and clear of the chassis.
You can remove the traction magnets first if you don’t want them moving around. The spreader is a little harder to use without the motor in place, but you can still squeeze it down to open the chassis.
How to reinstall the motor
The spreader is really meant for removal, so reinstalling is mostly done by hand:
Tilt the motor in. Hold it at about a 45° angle, apply forward pressure, and hold the body tubes with your two middle fingers. Rock it down into the chassis.
Work it past the hangers. If the tabs are touching and the hangers won’t let the motor drop, press down with your thumb and use tweezers to push it forward. If you can’t get it far enough forward, close the spreader just a little.
Snap it into place. Because the timing bracket has a ramp on it, it’s easiest to push the motor down the rest of the way without the spreader.
Check the timing bracket. Make sure it’s fully seated and engaged on both sides. You shouldn’t see any bowing in the middle of the chassis.
A few tips we picked up along the way
Check your magnet orientation. With this motor, the white dot should always be on the passenger side (for US-style setups). We put ours in backwards during the demo, after doing this 25,000+ times. It happens to everyone. Because the end bell is clocked, fixing it meant rotating the end bell assembly.
Traction magnets in high down force mode. High down force means the face of the magnet that touches the rail attracts toward the outside of the car on that side. Make sure the notch on the front of each magnet faces forward so it slides into the chassis properly.
Stiff timing brackets: one side at a time. Push one side in first and pop it over. Make sure the traction magnet stays loaded, since the bracket can push it out. Then press down in the middle to snap it on. Never pull both sides out and try to drop it on.